
Install Hardware#
This page will walk you through the installation of the MX3 M.2 module into a system.
Important
Install the hardware before installing the Driver/Runtime in order to auto-update MXA firmware. If you install in the opposite order, please run this command to check for firmware updates.
Optional Hardware Recommendations
Here we provide a curated list of hardware accessories and host configurations that pair well with MemryX accelerators. While the SDK is compatible with a wide range of systems, the components listed here have been internally tested and are known to offer reliable performance, proper power delivery, and ease of integration.
These are recommendations, not requirements. The SDK supports more than what’s shown on this page.
Raspberry Pi 5 HAT
The GeeekPi N04 M.2 2280 HAT is an excellent choice for the Raspberry Pi 5. It provides solid power delivery and fits the 2280-sized MX3 M.2 form factor.
4x M.2 PCIe Cards
In full-sized x86 hosts, you may want to scale up the number of M.2 accelerators to maximize FPS across multiple video streams.
The choice of card depends on whether your host supports PCIe bifurcation of an x16 slot to x4x4x4x4.
Host supports x4x4x4x4 bifurcation: The ASUS Hyper M.2 x16 Gen5 card includes a heatsink and fan, plus a 6-pin power connector for higher power budgets. Ideal if you want to use higher clockspeeds.
Host does NOT support x4x4x4x4 bifurcation: The Konyead 3003K Quad PCIe M.2 adapter includes a built-in PCIe switch to handle bifurcation automatically.
Setup Heatsink#
To use the included heatsink, please follow the video instructions below.
Install#
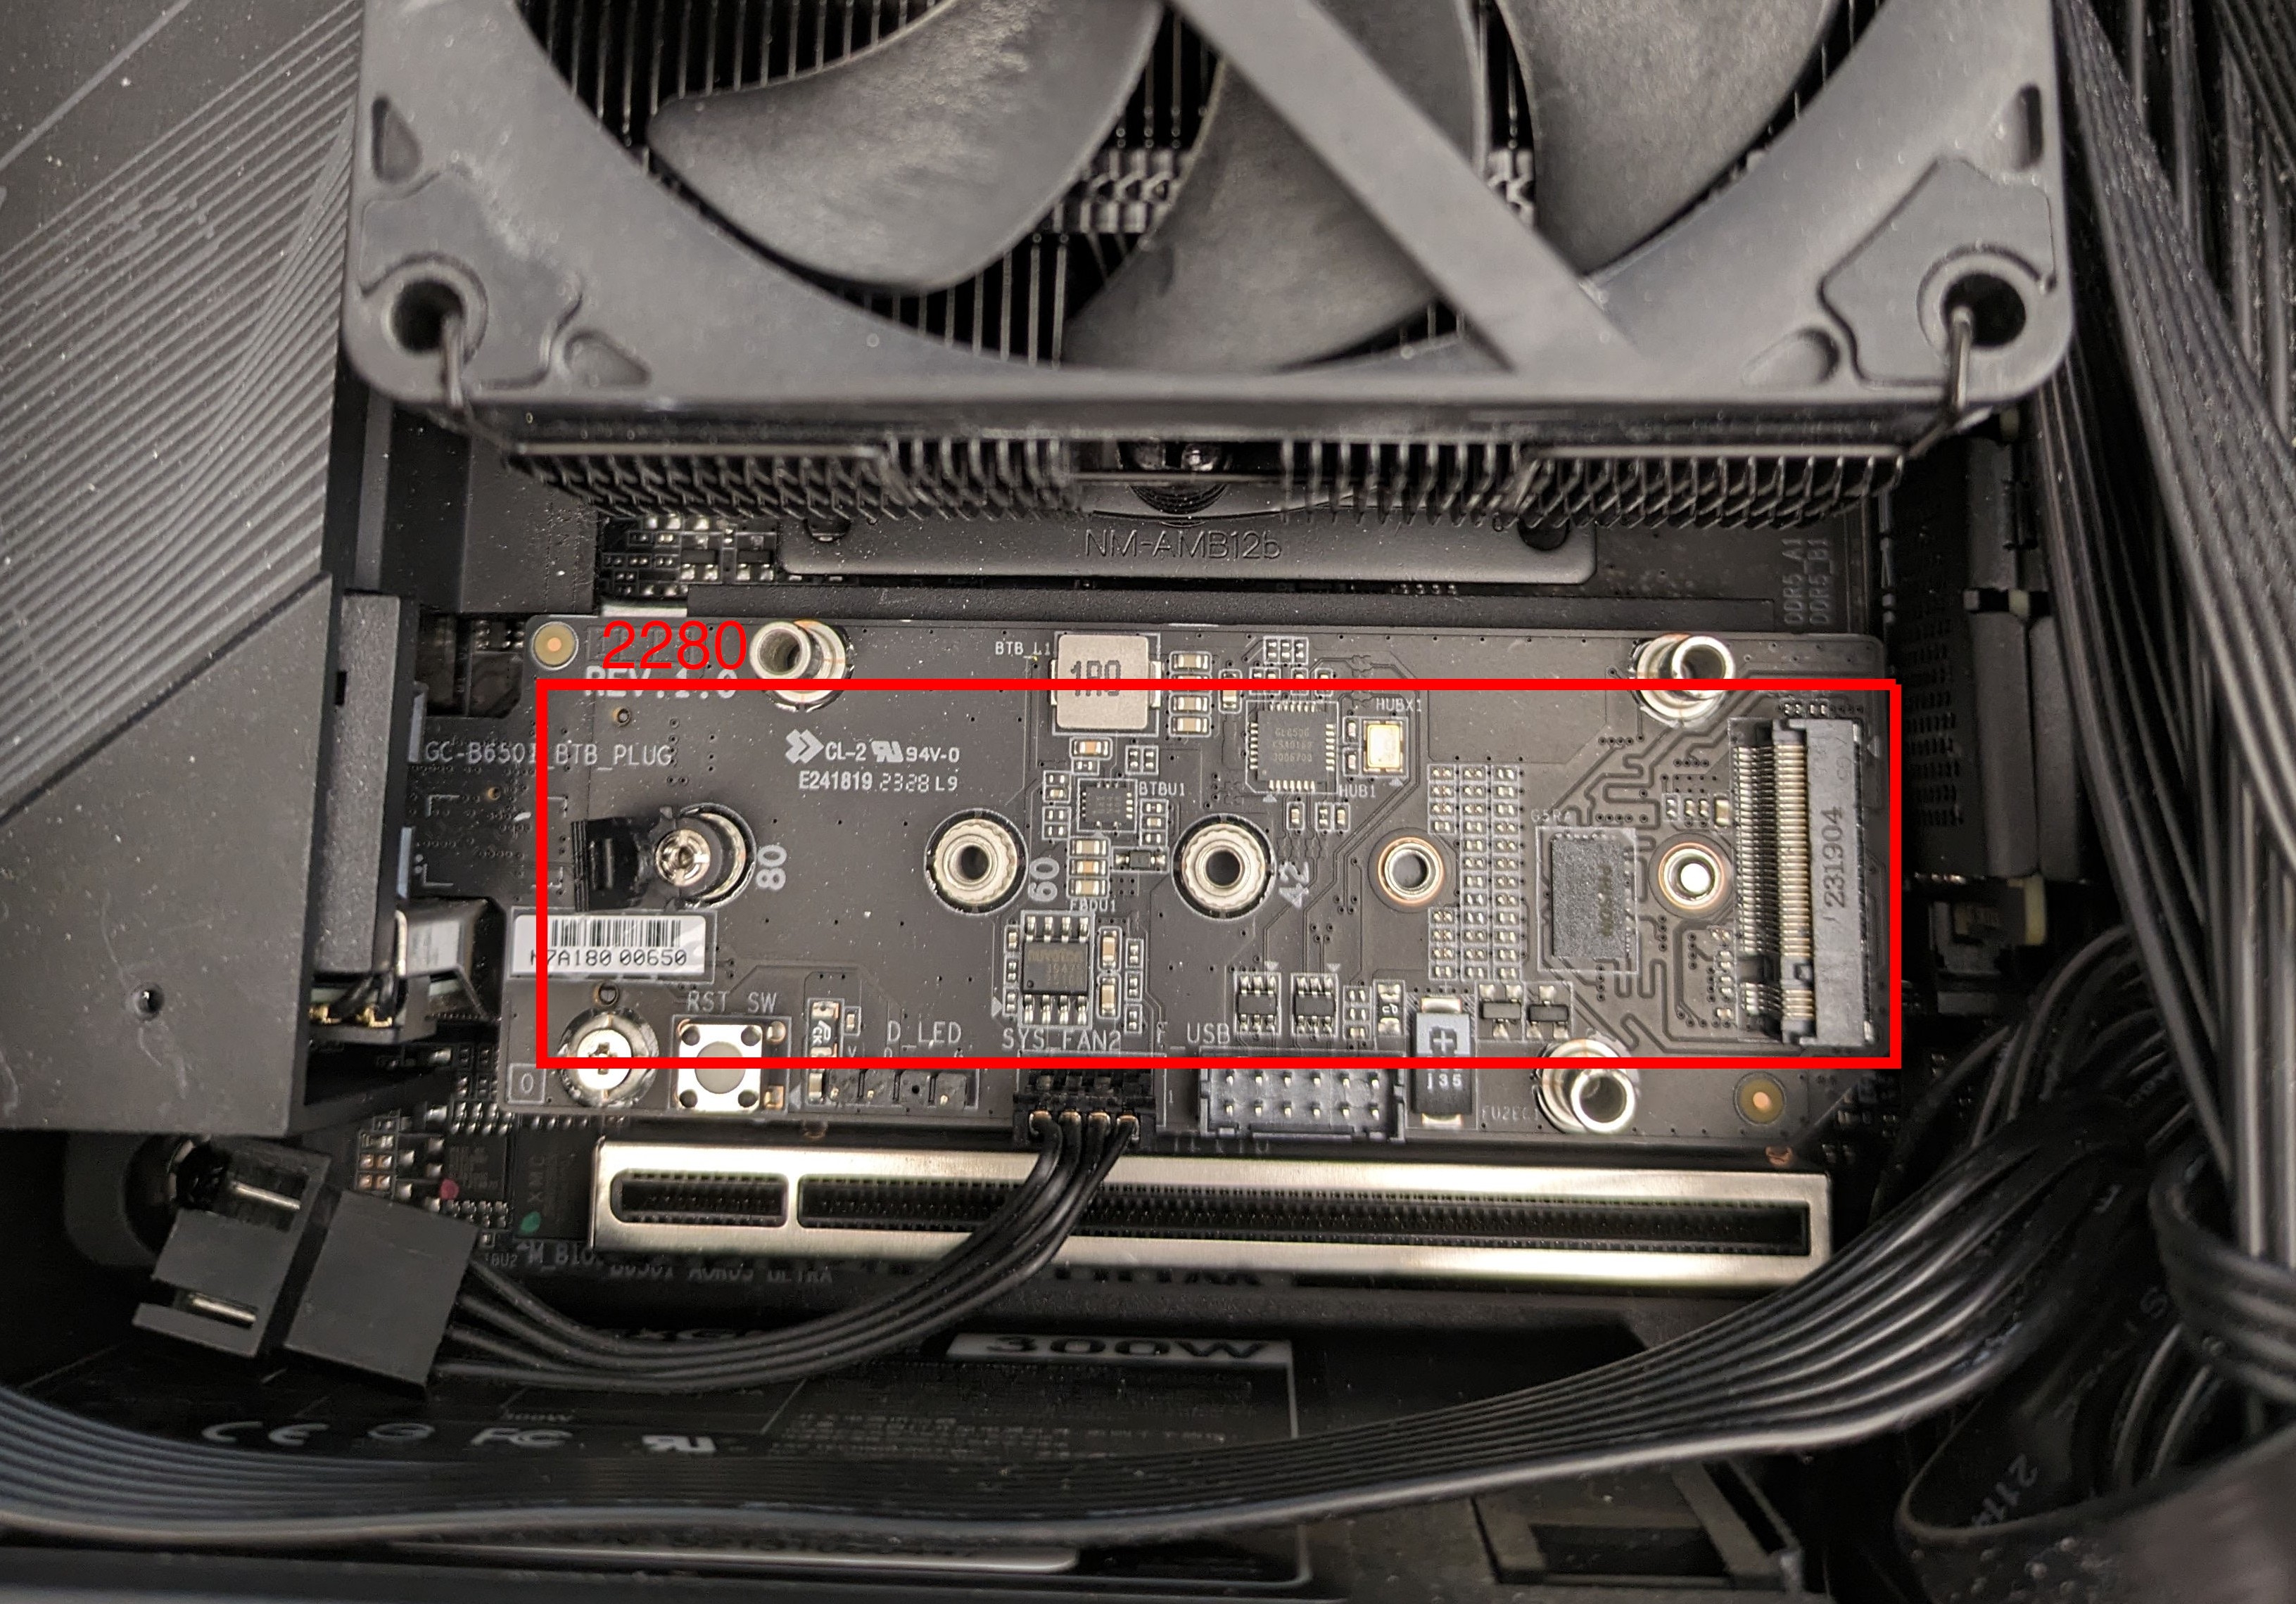
First, locate the M.2 2280 slot in your machine. These are also known as “NVMe slots” or “SSD slots”, since they are often used for storage drives.
View Image
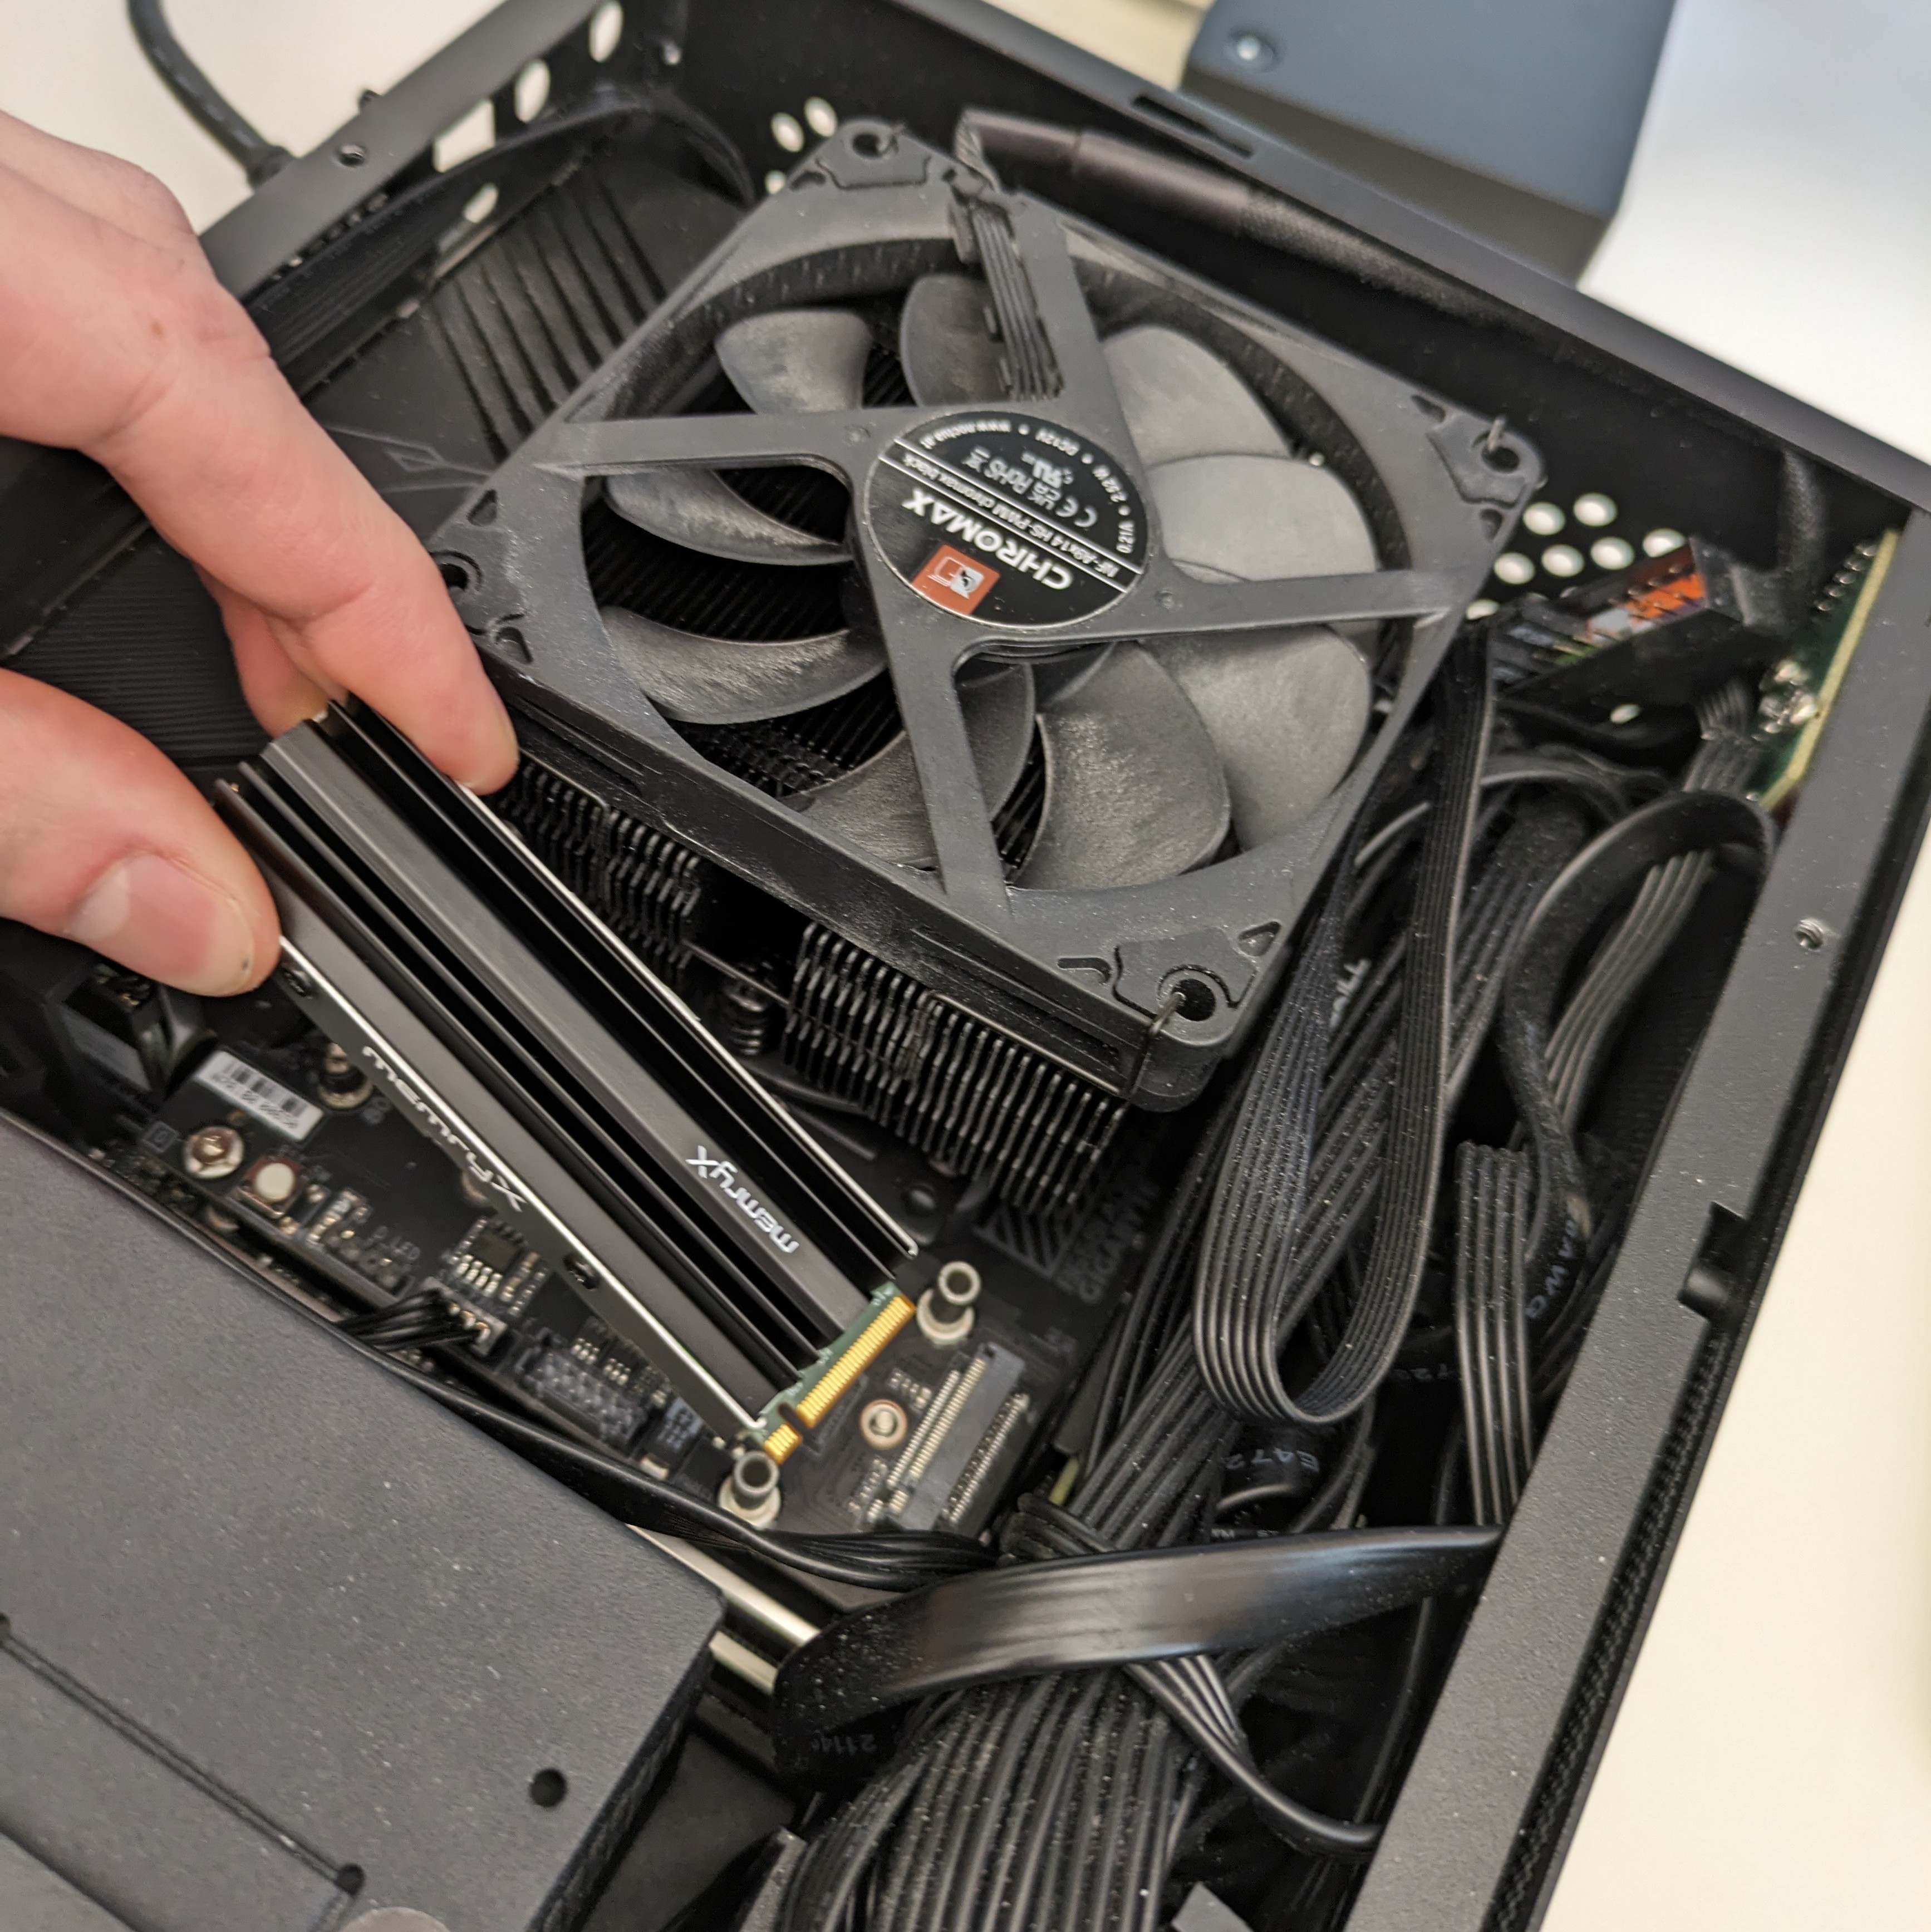
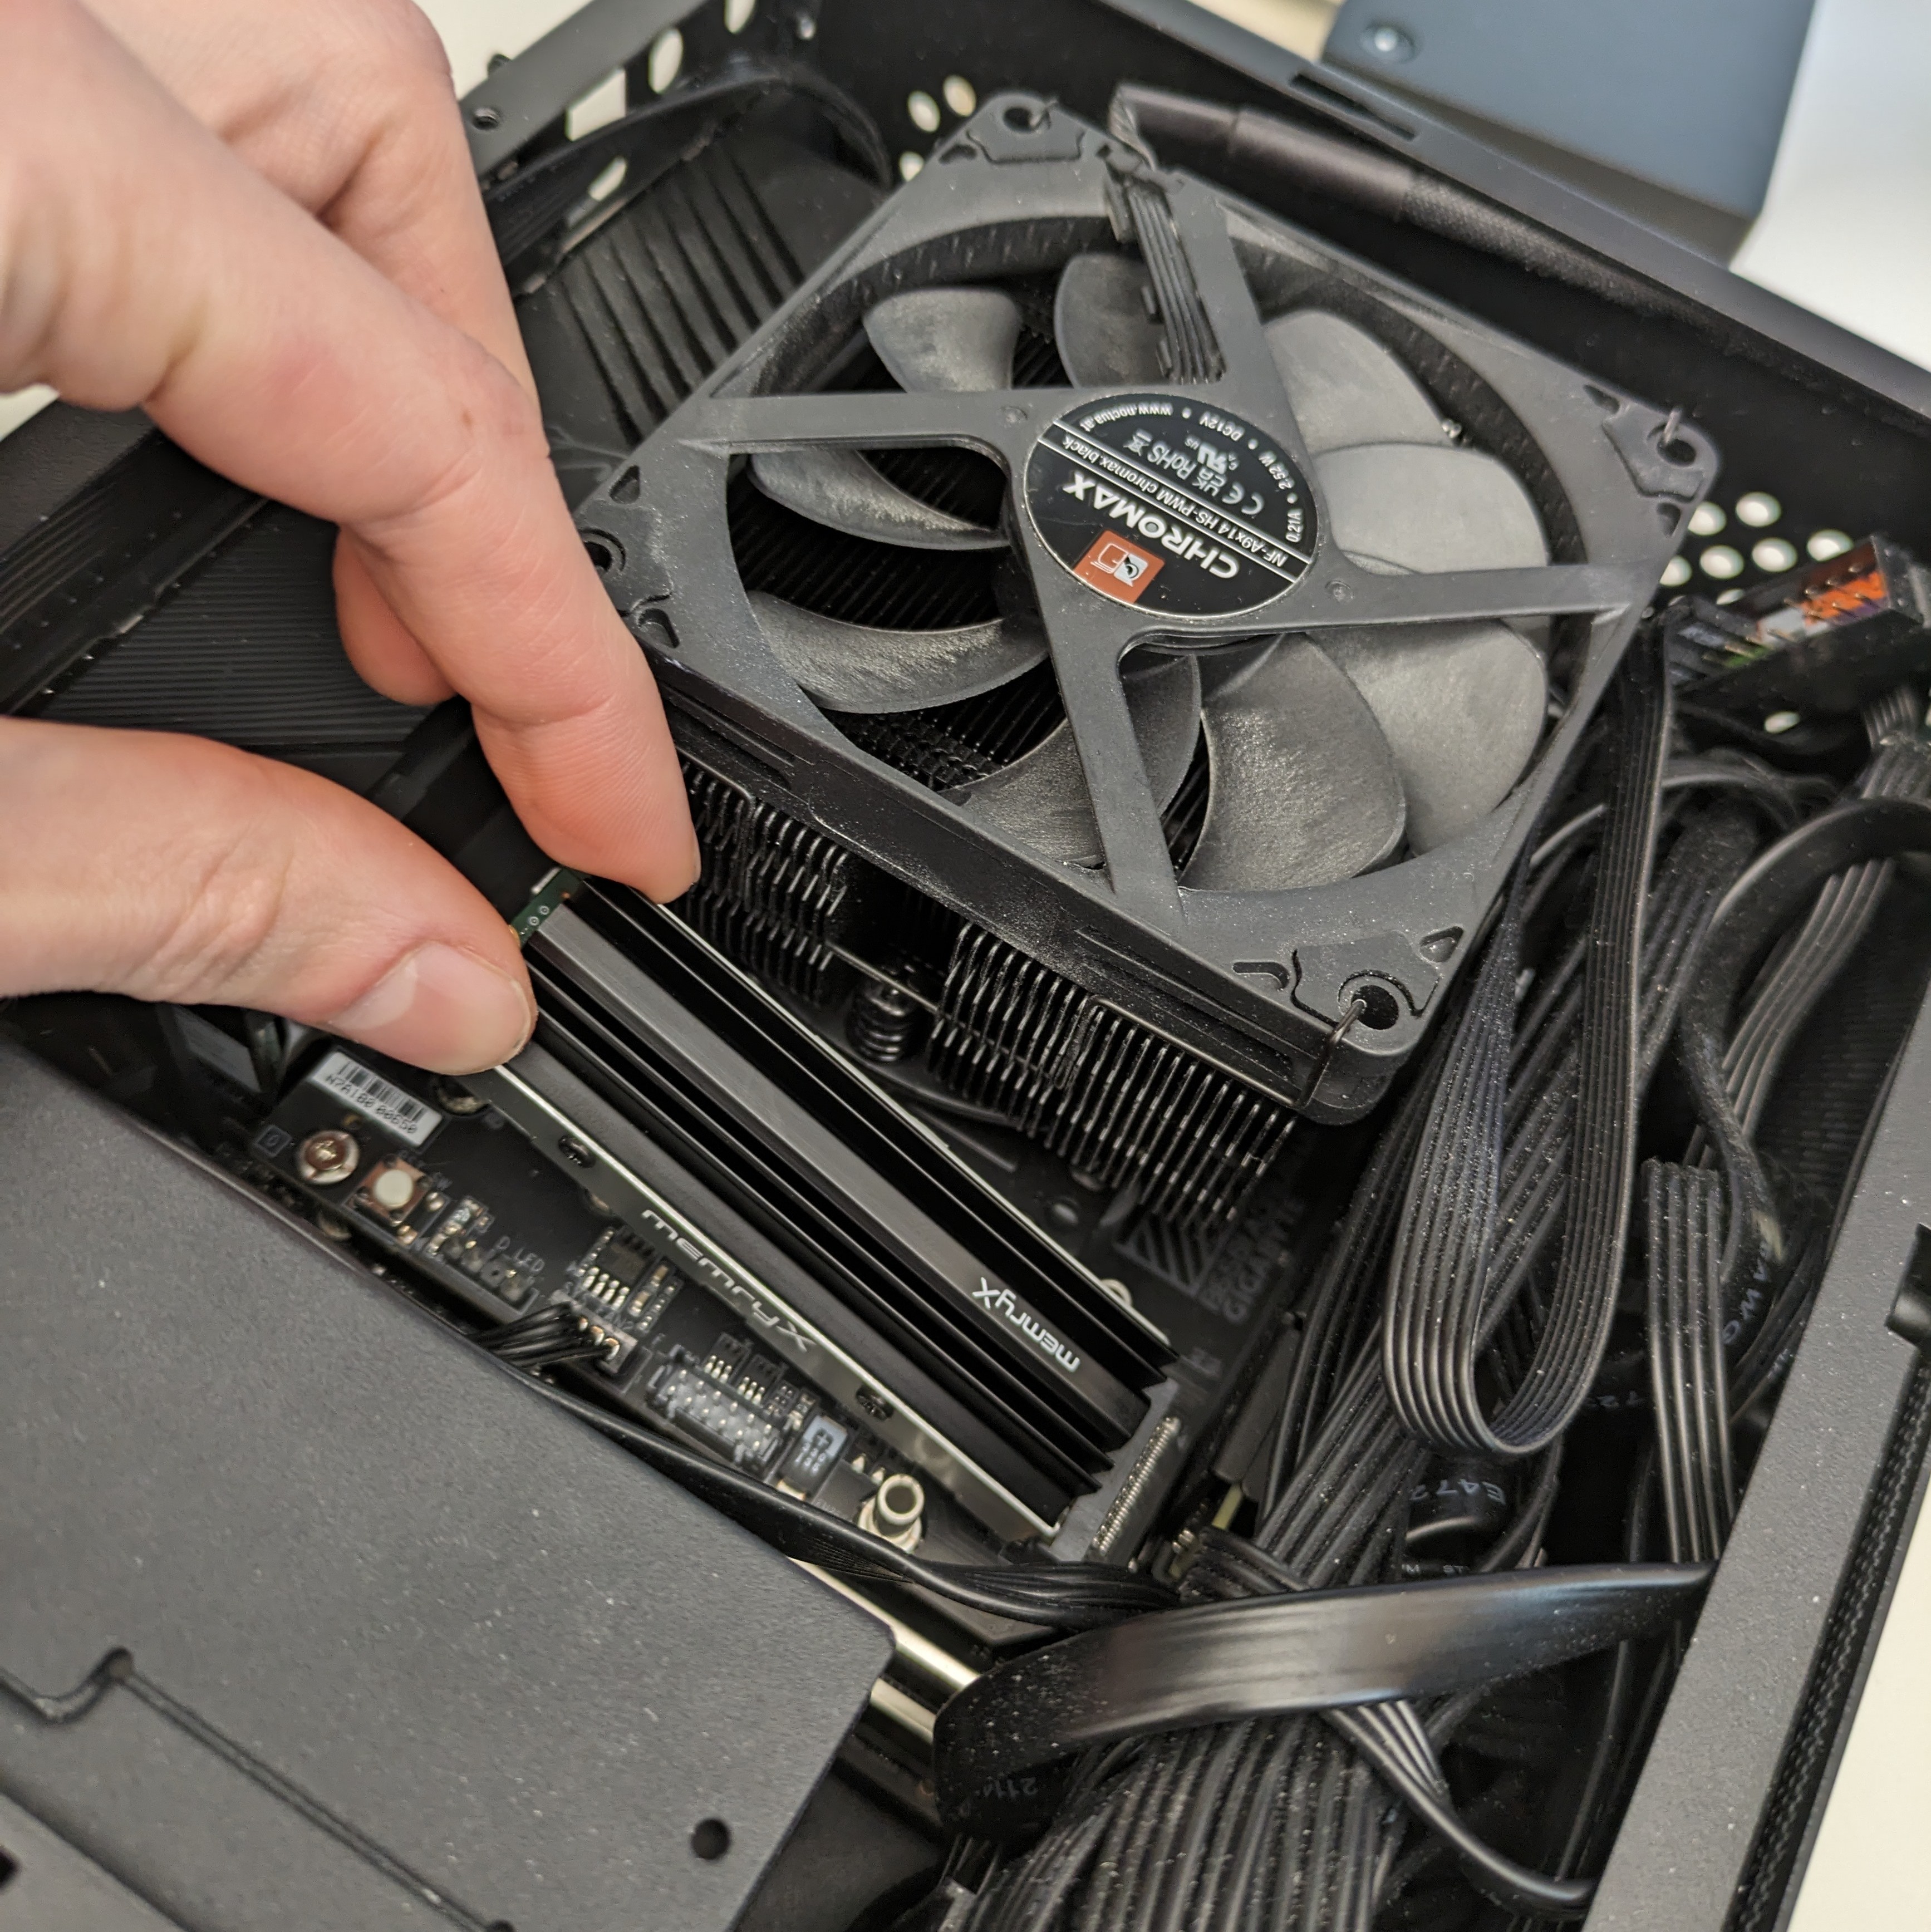
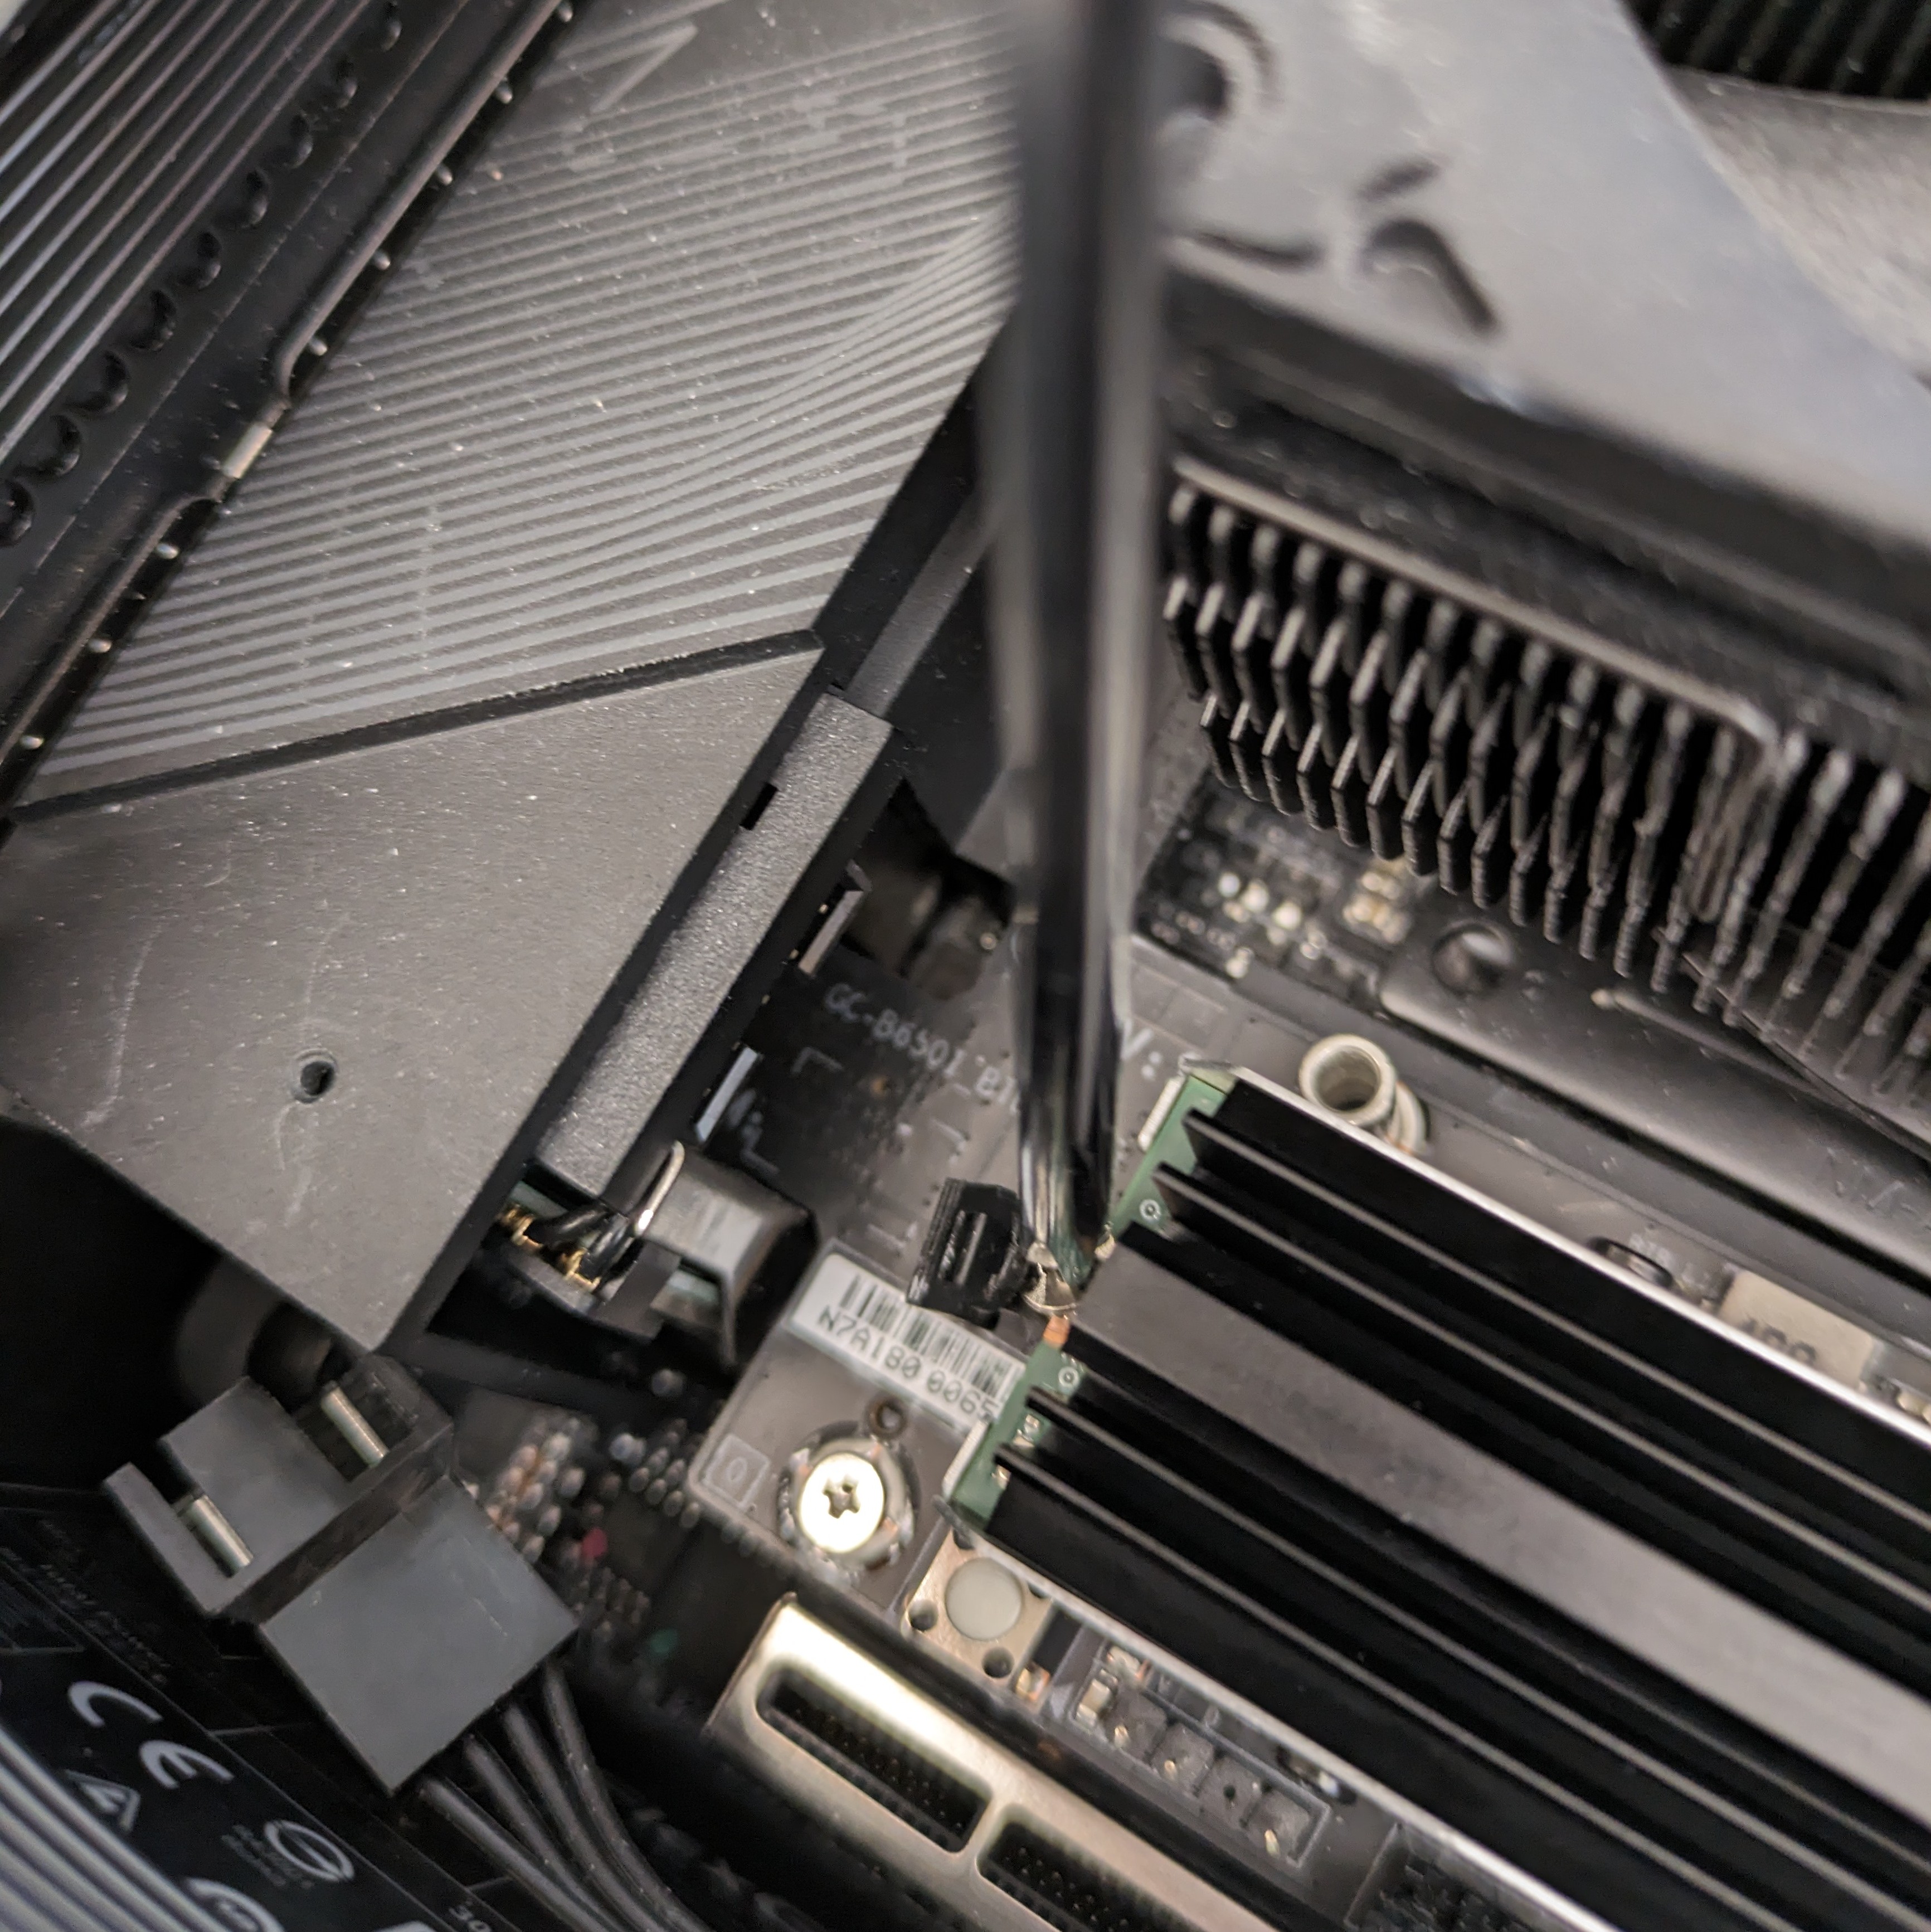
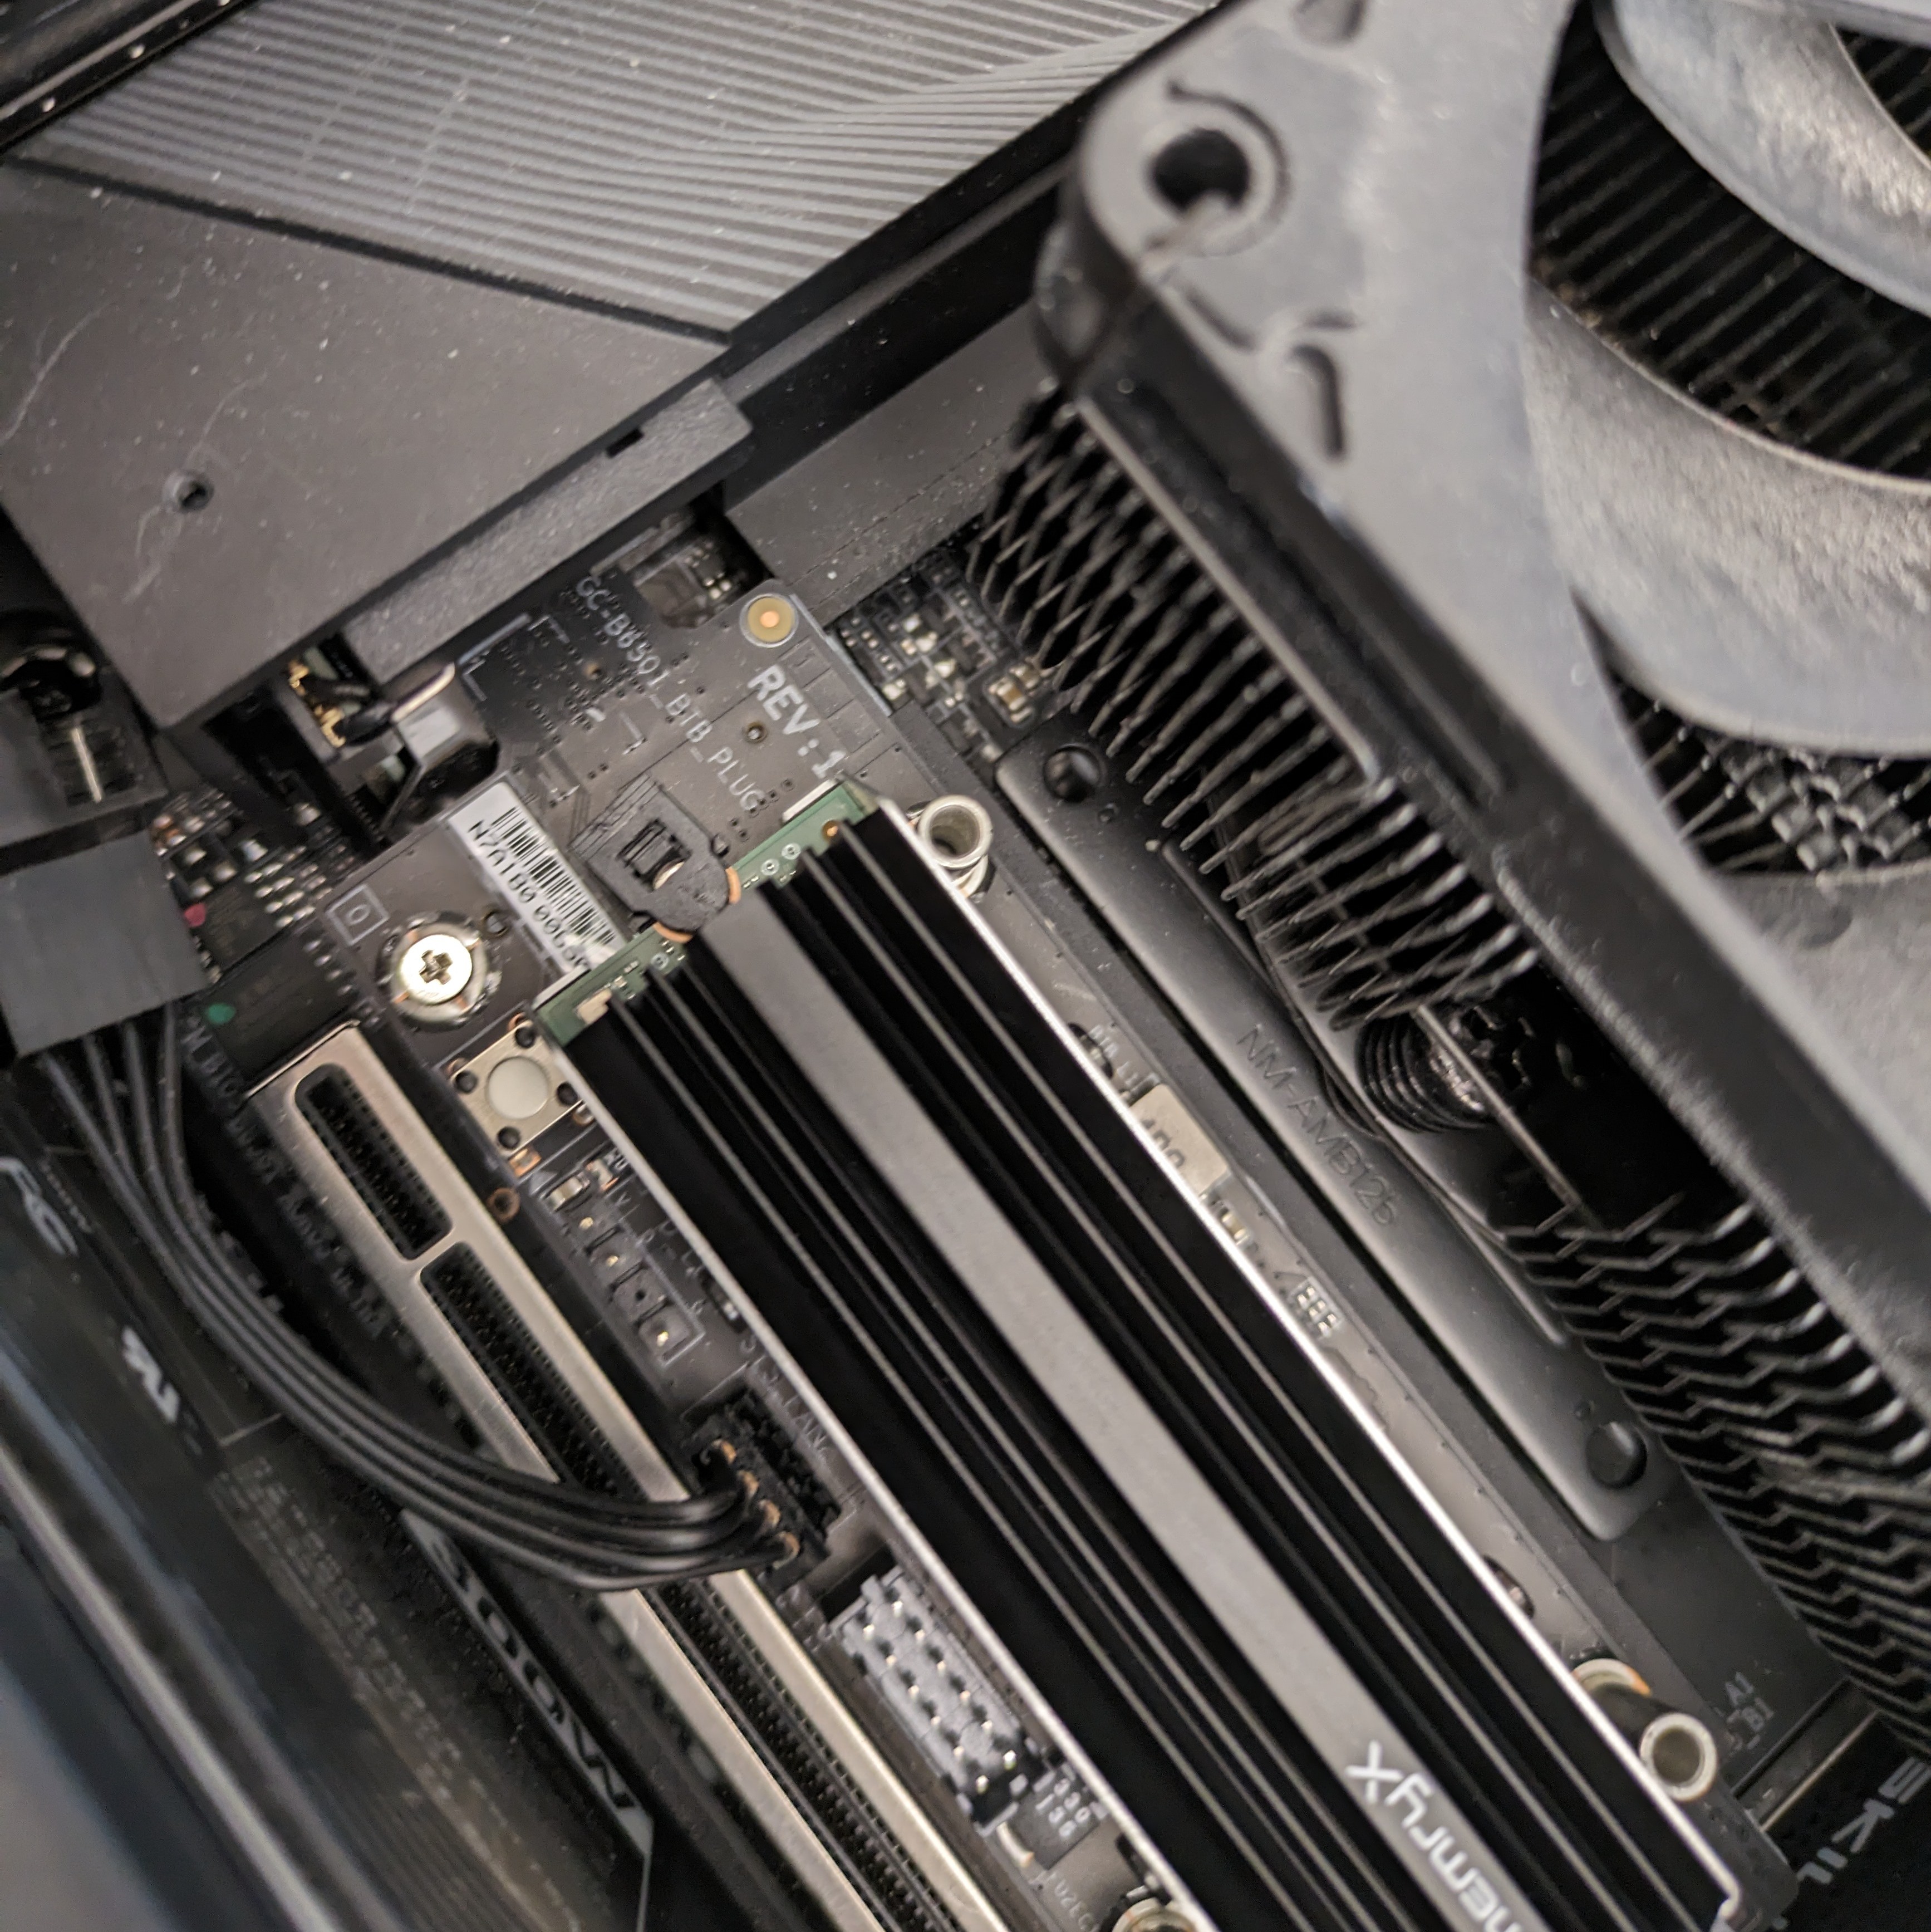
Next, insert the M.2 model into the slot at an angle, and then push it down flat.
View Images
Depending on your system, now either screw the module down using one of the included screws (2 threadings provided), or if your system uses a plastic clip, clip it down.
View Images
(Option 1) Screw:
(Option 2) Plastic Clip:
Airflow#
Warning
Please make sure you have sufficient cooling, or else you may experience thermal throttling / reduced performance. The chips will throttle their performance if they hit 100C.
The current temperature and throttle status can be viewed at any time with:
cat /sys/memx0/temperature
When using the included heatsink, it is strongly recommended to have airflow across the heatsink fins. Even a minimal amount of airflow, e.g. ~3CFM, can significantly improve thermals.
Finalize#
That’s it! With the MemryX runtime SDK installed, turn the system back on.
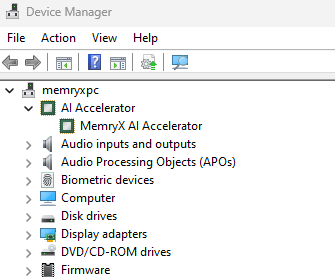
To verify that it is ready to use, check for the /dev/memx0 device node on Linux, or the “MemryX AI Accelerator” in Windows Device Manager.
ls /dev/memx*
should return:
/dev/memx0
Open Device Manager.
At the top of the list there should be an entry for “MemryX AI Accelerator” with a green icon.