Model Cropping#
Introduction#
While using the Neural Compiler, there are situations when a user will want to exclude particular layers from their model. One such case is when the model contains layers not intended for an AI accelerator. For example, some models include pre-processing and/or post-processing layers that are more suited for the host processor as they do not involve AI operations. For such models, the neural compiler provides a feature to extract a sub-graph from the full model graph to exclude the pre-processing and/or post-processing layers. The following tutorial describes how to use this feature i.e. how to crop a neural network model.
Download the Model#
First, we will require a neural network model. In this tutorial will use the CenterNet (MobileNet-v2) object detection model from the TensorFlow Detection Model Zoo . You can download the model using the following command.
wget http://download.tensorflow.org/models/object_detection/tf2/20210210/centernet_mobilenetv2fpn_512x512_coco17_od.tar.gz
We will now need to extract the downloaded compressed TAR file.
tar -xf centernet_mobilenetv2fpn_512x512_coco17_od.tar.gz
The uncompressed folder contains the model in two formats, TensorFlow and TensorFlow-Lite. In this tutorial, we will use the TensorFlow-Lite flavor of the model.
Compile#
It is always a good practice to compile the model before assuming that there are unsupported pre/post-processing layers.
mx_nc -m centernet_mobilenetv2_fpn_od/model.tflite -v
Output:
Converting Model   : ■■■■■■■■■■■■■■■ 10.0%
Found 1 instance(s) of unsupported operator 'TOPK_V2'
Found 2 instance(s) of unsupported operator 'GATHER_ND'
memryx.errors.OperatorError: During conversion found unsupported nodes TOPK_V2(1), GATHER_ND(2). Using autocrop (--autocrop) might help.
As we can see from the output that our first trial is not successful.The neural compiler also recommended that we use the auto-cropper tool.
Note
The auto-cropper suggestion message is an experimental feature.
To let the Neural Compiler predict the likely cropping points and do the cropping automatically, use the
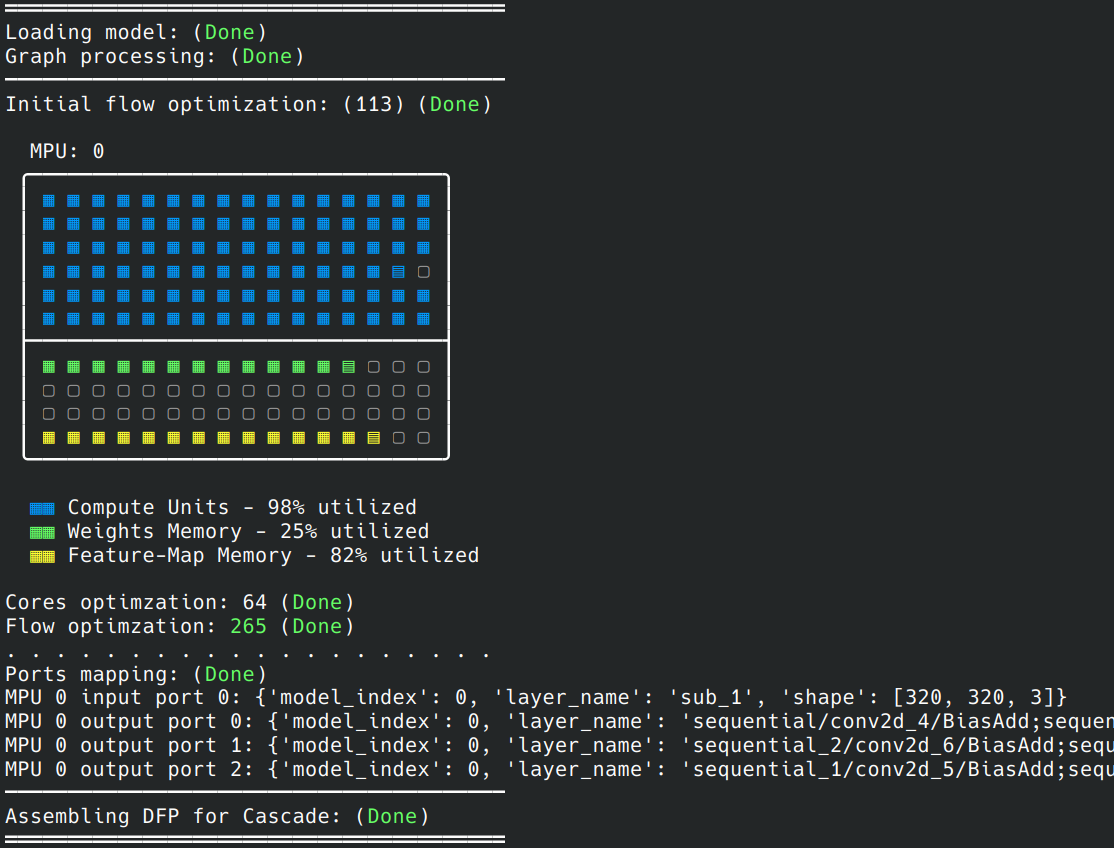
--autocropflag.mx_nc -m centernet_mobilenetv2_fpn_od/model.tflite -v --autocrop -sooutput:

The compiler will create three sub models with the different sections of the graph. In our case, they will be named:
model_crop.tflite(Main neural network section)
model_pre.tflite(pre-processing section)
model_post.tflite(post-processing section)
The model_crop.tflite section will be compiled by the neural compiler and a model.dfp will be generated.
These names are derived from the original model file, which was named model.tflite.
Find the Crop Points
The second step is to find the cropping locations in the model. This is generally done by visualizing the graph of the model. If you don’t already have a tool to visualize neural network models, we recommend using Netron. This step generally requires basic level of knowledge of the model architecture.
Pre-Processing
The CenterNet model does not have any particular pre-processing layer that needs to run on the host CPU, as shown in the following figure. Hence, there is no need to crop the model at the input. It should be noted that the MXA accelerator supports the “Mul” and “Sub” operators.

Post-Processing
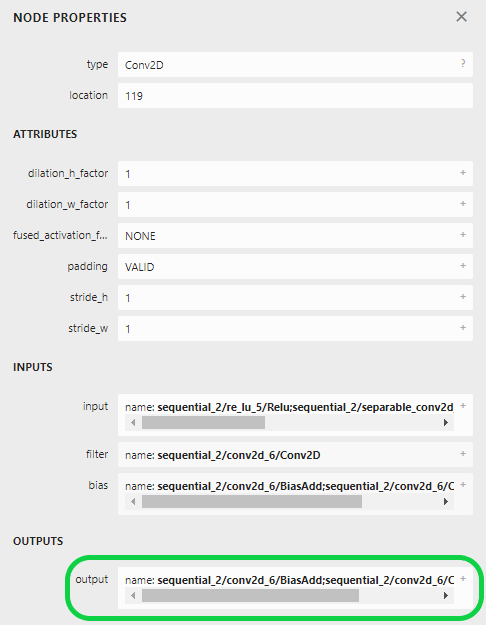
The CenterNet model has three different neural network outputs. To figure out the post-processing cropping point, a rule of thumb is to look for the deepest layers performing neural network operations. The following figure shows one of the three expected model outputs and the transition from neural network operations as “Conv2D” to non-neural network operations as “GatherND.”

We should crop the model after the “Conv2D” layer in this case. Here, we need to get the output name of this layer. Typically, clicking on the node will show its properties, including its output name.

For the tutorial model, the names of the outputs to crop at are:
“sequential/conv2d_4/BiasAdd;sequential/conv2d_4/Conv2D;conv2d_4/bias1”
“sequential_1/conv2d_5/BiasAdd;sequential_2/conv2d_6/Conv2D;sequential_1/conv2d_5/Conv2D;conv2d_5/bias1”
“sequential_2/conv2d_6/BiasAdd;sequential_2/conv2d_6/Conv2D;conv2d_6/bias1”
Compile the Model with Cropping Enabled
After figuring out the cropping points, it is time to compile the model. This time we will supply the cropping points to the neural compiler. There are two options to do so.
Here, we will directly supply the cropped inputs/ouputs as strings to the neural compiler using the --input and --output arguments.
mx_nc -m centernet_mobilenetv2_fpn_od/model.tflite -v -so \
--outputs "sequential/conv2d_4/BiasAdd;sequential/conv2d_4/Conv2D;conv2d_4/bias1,sequential_1/conv2d_5/BiasAdd;sequential_2/conv2d_6/Conv2D;sequential_1/conv2d_5/Conv2D;conv2d_5/bias1,sequential_2/conv2d_6/BiasAdd;sequential_2/conv2d_6/Conv2D;conv2d_6/bias1"
output:

We did not need to use the --input argument because we are not cropping the model from the input side.
The other way a user can crop their model is using the --model_in_out flag provided by the Neural Compiler. This flag expects the path to a JSON file that specifies how the input model’s graph will be cropped. We will start by creating an empty JSON file.
touch centernet_crop.json
Then let’s copy the following text to it.
{
    "outputs": [
        "sequential/conv2d_4/BiasAdd;sequential/conv2d_4/Conv2D;conv2d_4/bias1",
        "sequential_1/conv2d_5/BiasAdd;sequential_2/conv2d_6/Conv2D;sequential_1/conv2d_5/Conv2D;conv2d_5/bias1",
        "sequential_2/conv2d_6/BiasAdd;sequential_2/conv2d_6/Conv2D;conv2d_6/bias1"
        ]
}
For more information about the configuration file format, please check the Configuration Files Format page.
Now, let’s compile again. But this time, we will use the JSON file we just created:
mx_nc -m centernet_mobilenetv2_fpn_od/model.tflite --model_in_out centernet_crop.json -v -so
output:

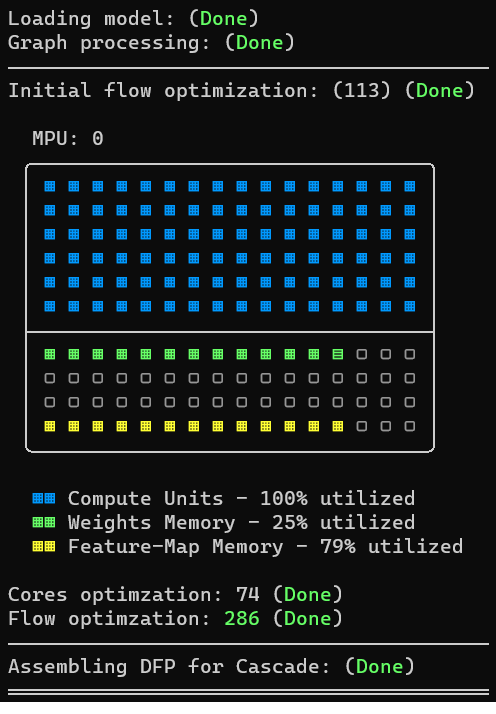
The compiler will create three sub models with the different sections of the graph. In our case, they will be named:
model_crop.tflite(Main neural network section)model_post.tflite(post-processing section)
The model_crop.tflite section will be compiled by the neural compiler and a model.dfp will be generated. These names are derived from the original model file, which was named model.tflite.
Deploy & Integrate#
After your model is cropped and compiled, it’s ready to be accelerated using the MemryX hardware accelerator. The neural network part of the model will run on the accelerator, while the cropped pre-/post-processing should run on the host CPU.
The Accelerator API provides functions that do the work of loading and running inference on the pre-/post-processing models to make integration easier.
from memryx import AsyncAccl

# you will have to write the input callback - get_frame
# and output callback - process_outputs

accl = AsyncAccl('model.dfp')
accl.set_preprocessing_model('model_pre.tflite')
accl.set_postprocessing_model('model_post.tflite')
# pre-processing model run on the input feature maps returned by get_frame
accl.connect_input(get_frame)
# output feature maps are run through the post-processing model before being passed to process_outputs
accl.connect_output(process_outputs)
# execution starts after connecting in/out callbacks; wait for it to finish
accl.wait()
To run the pre/post processing model sections manually, refer to sample code from the model framework. In Python, this will typically involve importing the framework, followed by loading and preparing the model for inference, and finally calling the inference API.
Summary#
This tutorial outlined how to crop a post-processing section of the neural network model and map the main section of the model to the MXA accelerator.

